Table Of Content
How to Create and Customize an Image with ChatGPT and DALL-E
In this guide, we’ll walk through the process of creating a stunning image using OpenAI’s DALL-E 3 through ChatGPT-4o and then adding custom text to it, enabling you to produce personalized visuals ready for download.
Step 1: Generating the Image with DALL-E
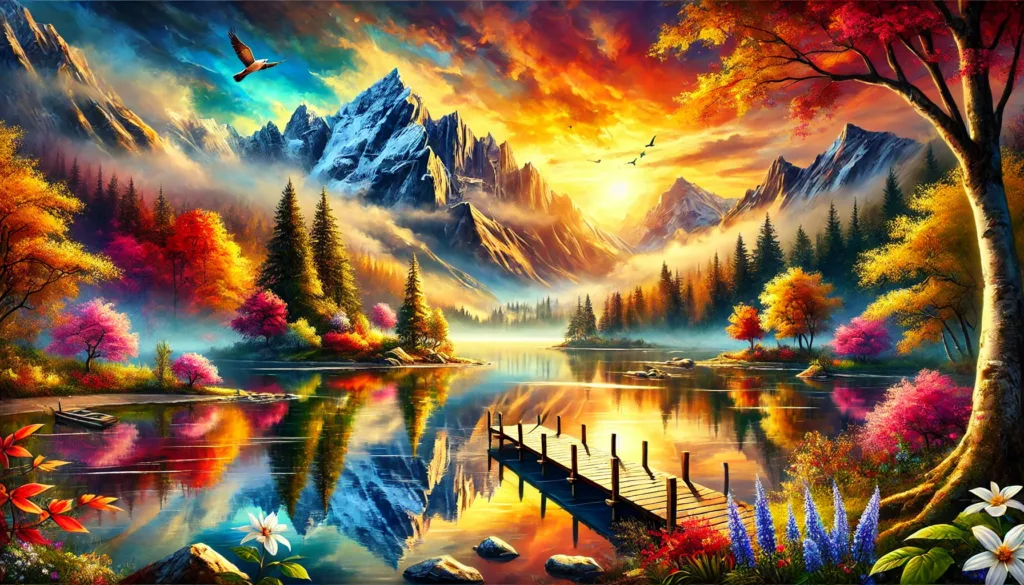
- Start with a Clear Concept: Begin by describing the image you want in detail. For instance, if you want a vibrant landscape, include elements such as colors, scenery, lighting, and any additional objects (e.g., birds, wooden pier). Example prompt: “A breathtaking and colorful original landscape featuring a serene mountain lake surrounded by vibrant autumn foliage, snow-capped peaks in the background, and a dramatic sunrise casting golden light across the scene. Include reflections of the scenery on the calm water, with a wooden pier extending into the lake for added depth. Birds in flight and a misty atmosphere enhance the dreamy quality. The style is vivid and photorealistic, designed to captivate attention and evoke awe.”
- Use ChatGPT’s DALL-E Integration: Input your detailed prompt into ChatGPT, specifying that you’d like an image created using DALL-E. The tool generates the image according to your description.
- View and Save the Generated Image: Once the image is ready, it’s displayed in the chat. You can download it directly in webp format by clicking on the image or using the provided link if specified.

Step 2: Adding Text to the Image
After generating the image, you might want to personalize it by overlaying text, like a title or a motivational quote. Here’s how you can do that:
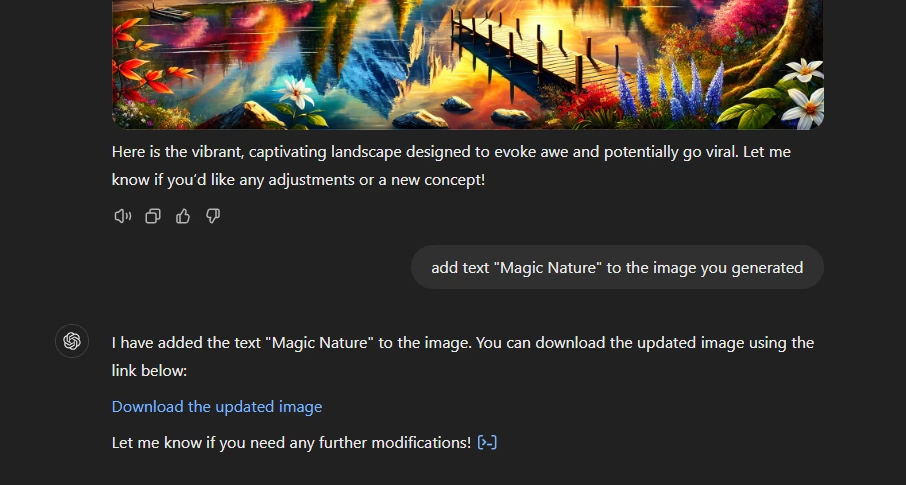
- Describe the Text Addition: Ask ChatGPT to add text to the image. Specify:
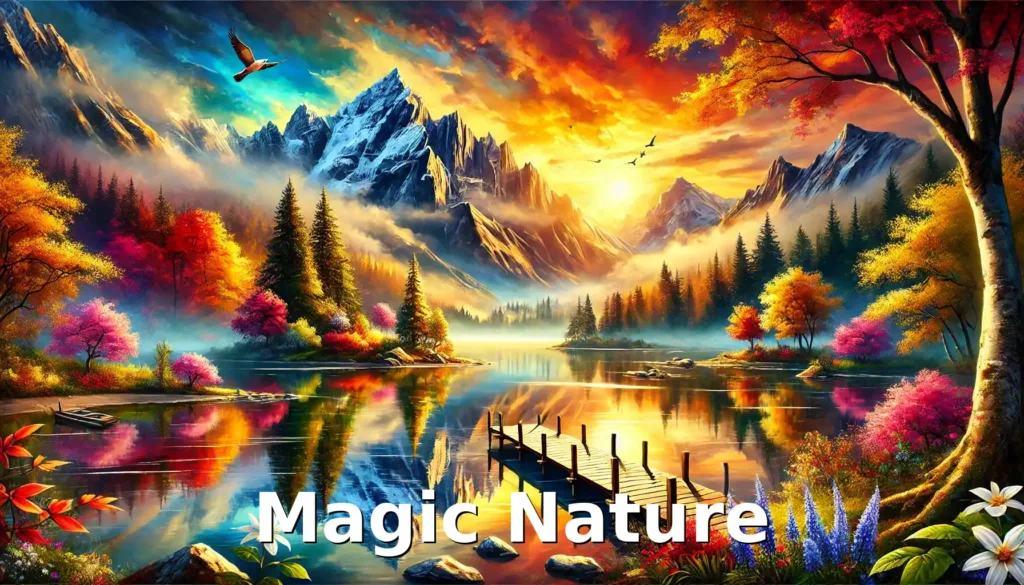
- The text you want (e.g., “Magic Nature”).
- The desired font size and color (e.g., large white text with a shadow).
- The positioning of the text (e.g., centered, at the bottom).
- Execution Using Image Processing Libraries: ChatGPT uses libraries like Python’s Pillow (PIL) to edit the image. The process involves:
- Loading the original image.
- Setting the font type, size, and color.
- Calculating the position of the text to ensure it’s properly aligned.
- Adding optional effects like shadows for better visibility.
- Saving the updated image.
- Download the Edited Image: Once the image is updated, ChatGPT provides a downloadable link to the modified file in png format.

Practical Application of This Workflow
For this guide, here’s what we did:
- Generated a Vibrant Landscape: Using a detailed prompt, we created an original landscape image featuring colorful autumn foliage, a serene mountain lake, and a dramatic sunrise.
- Customized with Text: We added the text “Magic Nature” to the image in a bold, centered style with a shadow for added depth and clarity.
- Downloaded the Final Image: After the modifications, the final image was provided with a download link for easy access.

Tips for Success
- Be Descriptive: The more detailed your prompt, the closer the generated image will align with your vision.
- Choose Readable Fonts: When adding text, ensure it contrasts well with the image for readability.
- Iterate: If the result isn’t perfect, refine your prompts and try again.
By combining DALL-E’s generative power with simple image editing techniques, you can create unique and personalized visuals for presentations, social media, or creative projects.


Leave a Reply
You must be logged in to post a comment.